Stage 5
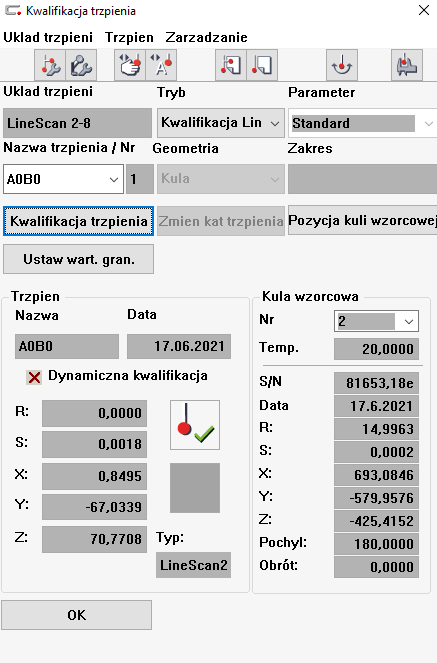
- The non-contact measuring probe was qualified by using the reference sphere dedicated only to non-contact coordinate measurements. The LineScan probe was qualified in the following RDS position: A0B0 (Fig. 1). This position of the probe was used during measurements of the part.

Fig. 1
- The figure 2 presents the window of the Calypso software during the qualification of the LineScan measuring probe.

Fig. 2
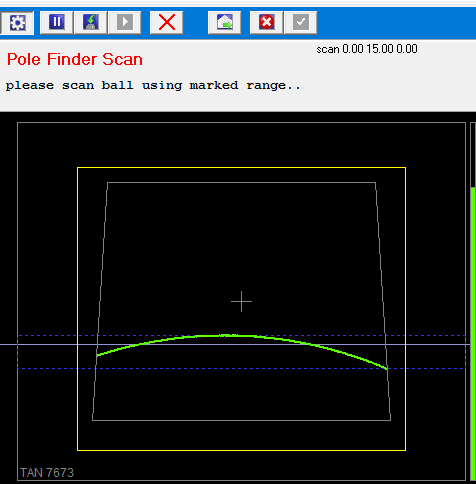
- The real qualification of the LineScan measuring probe is presented in the figure 3.

Fig. 3
Last modified: Thursday, 4 August 2022, 2:26 PM